How to Preserve Your Sourdough for Months
Updated July 2026 · 7 min read
TL;DR
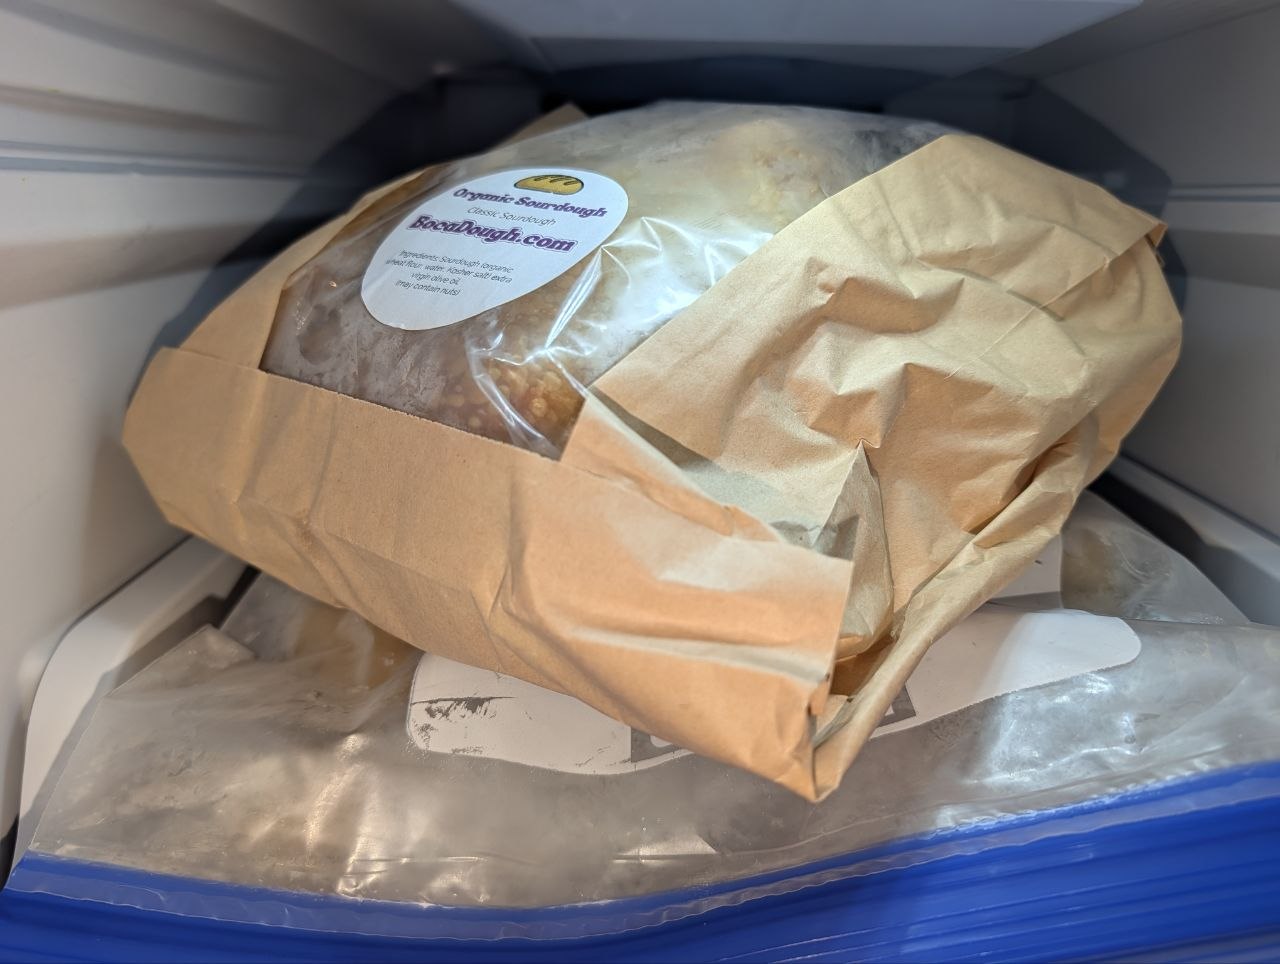
- Freeze it in the bag it came in: zero effort, keeps well for about 2 to 3 weeks.
- Bag it inside a freezer bag: squeeze the air out, good for 2 to 3 months.
- Vacuum seal the whole loaf: the gold standard, good for 6 to 12 months.
- Slice it with parchment between slices, then freezer bag: grab one slice at a time, good for 1 to 2 months.
- Zip seal each slice or half individually: the most flexible option, good for 3 to 4 months.
Golden rule for every method: cool the loaf completely first, get as much air out as you can, and never store sourdough in the fridge. The fridge is the fastest way to make bread go stale.
Our bread has no preservatives, no dough conditioners, and nothing that keeps it "shelf stable" in a plastic sleeve for three weeks. That is the whole point. The trade off is that a real loaf has a real lifespan on the counter, usually four to five days. The freezer is how you stretch that into months without giving up a thing in flavor or texture.
Freezing works because it stops starch retrogradation, the slow crystal forming process that makes bread go dry and crumbly. Below 0°F that process basically pauses. Thaw the loaf later and it picks up right where it left off. The only real enemy in the freezer is air, which pulls moisture out of the crumb and causes freezer burn. Every method below is really just a different level of protection against air.
Method 1: Freeze It Right in the Bag It Came In
Keeps for: about 2 to 3 weeks
This is the "I just got home and my hands are full" method, and honestly it works fine for the short term. Your loaf already comes in a sealed food safe bag inside a paper sleeve, so it has two layers of protection out of the box.
- Make sure the loaf is fully cooled. A warm loaf makes steam, and steam makes ice crystals.
- Press the bag against the loaf to push out as much trapped air as you can, then seal or twist it shut.
- Leave the paper sleeve on. It adds one more insulating layer against freezer air.
- Lay it flat in the coldest part of the freezer, away from the door.
Past three weeks or so you will start to notice a little dryness at the crust because the bag is not airtight. Perfectly good bread, just not quite the same. If you know you will not get to the loaf within a few weeks, upgrade to one of the methods below.
Method 2: The Bag Inside a Freezer Bag
Keeps for: 2 to 3 months
Thirty extra seconds of work buys you months. A heavy duty freezer bag is thicker than a regular storage bag and is built to block moisture loss, which is exactly what you need.
- Cool the loaf completely, then keep it in its original bag.
- Slide the whole thing into a gallon size freezer bag. A large loaf may need a two gallon bag.
- Seal the zipper almost all the way, then press the bag down from the bottom up to force the air out through the last inch before you close it. Some folks use a straw to suck the last of the air out, which works great.
- Write the flavor and the date on the bag with a marker. You will thank yourself in month two.
This is the best balance of effort and results for most people, and it is what we do at home when we are not vacuum sealing.
Method 3: Vacuum Seal the Whole Loaf
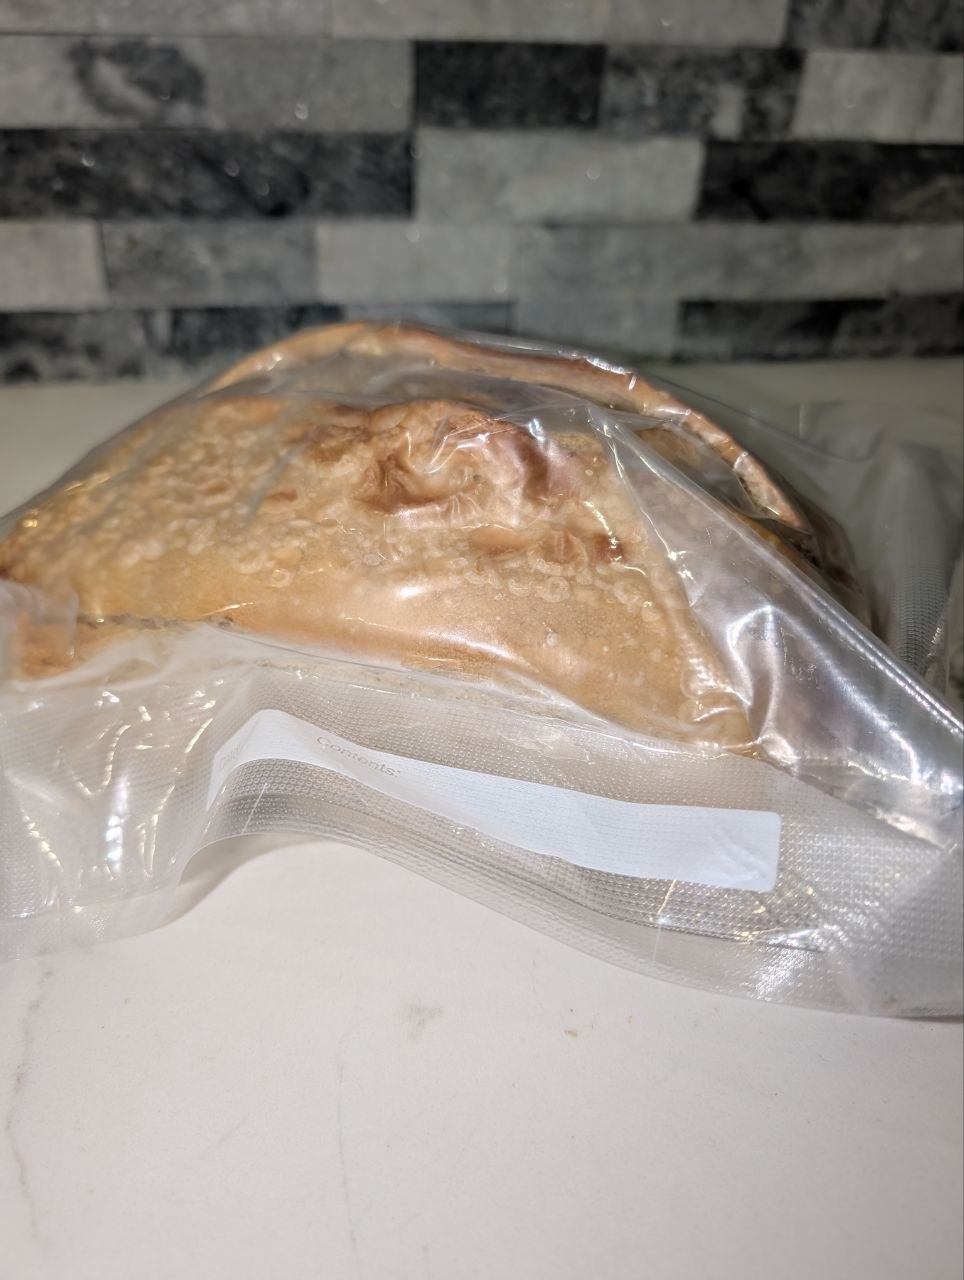
Keeps for: 6 to 12 months
This is the gold standard. Pull the air out entirely and there is nothing left to dry out the crumb or burn the crust. A vacuum sealed loaf that comes out of the freezer nine months later tastes shockingly close to the day it was baked.
- Cool the loaf completely. This one is non negotiable with a vacuum sealer.
- Take the loaf out of its paper sleeve and place it in a vacuum bag with a couple inches of slack at the open end.
- Use the gentle, moist, or pulse setting if your machine has one. Full power suction will crush a crusty loaf flat. Pulse in short bursts and stop the moment the bag hugs the crust.
- Seal, label with the flavor and date, and freeze flat.
If your sealer only has one aggressive setting, freeze the loaf uncovered for about an hour first. A firm, semi frozen loaf will not compress, and then you can seal it at full power without flattening it.
One note for our shipping customers: do not freeze before vacuum sealing if you are sealing for a long haul in a warm car. Condensation gets trapped in the bag. Seal a cool, dry loaf, then freeze.
Method 4: Slice It, Parchment Between, Freezer Bag
Keeps for: 1 to 2 months
If you are a one slice of toast in the morning kind of person, this is your method. Slicing exposes more surface area, so it does not last as long as a whole loaf, but the convenience is hard to beat. No thawing the whole thing just for breakfast.
- Cool the loaf completely, then slice it with a serrated knife at your normal thickness.
- Cut parchment paper into squares slightly larger than a slice and lay one between every pair of slices. This is what keeps them from freezing into one solid brick.
- Rebuild the loaf in order and slide the whole stack into a heavy duty freezer bag.
- Press the air out, seal, label, and lay it flat so the slices stay flat.
To use: pull one slice straight from the freezer and drop it in the toaster frozen. Do not thaw it first. Frozen to toaster gives you a better crust than a thawed slice ever will.
Method 5: Individually Zip Sealed Portions
Keeps for: 3 to 4 months
The most flexible option, and great for small households or anybody who likes to spread one loaf across a whole month. Each portion gets its own sealed environment, so opening one does nothing to the rest.
- Cut the cooled loaf into the portions you actually eat: halves, quarters, thick sandwich slabs, or two slice servings.
- Put each portion in its own quart or sandwich size freezer bag. Wrapping tightly in plastic wrap or foil first adds a second layer and buys you extra time.
- Press every bit of air out, seal, and label each bag with the date.
- Group them all in one large bag or bin so they do not get lost in the freezer.
Bonus: quarters and halves thaw in about 30 minutes on the counter, so you can decide on sourdough with dinner at 5 o'clock and still be fine.
Bringing It Back to Life
Freezing is only half the job. How you thaw makes the difference between "pretty good" and "wait, this was frozen?"
- Whole loaf: leave it in its bag on the counter for 3 to 4 hours until it reaches room temperature. Thawing inside the bag lets the loaf reabsorb its own moisture instead of losing it to the air.
- Then refresh it: take it out of the bag, splash or mist the crust with water, and bake at 350°F for 10 to 15 minutes. The crust crackles back to life and the crumb goes soft and warm again.
- In a hurry: wrap the frozen loaf in foil and bake at 325°F for 35 to 45 minutes straight from the freezer, then unwrap for the last 5 minutes to crisp the crust.
- Slices: toaster, frozen, no thawing. Every time.
A refreshed loaf is best eaten the same day, so only revive what you plan to finish.
Four Mistakes That Ruin Frozen Bread
- Freezing a warm loaf. Trapped steam turns into ice crystals and the crust goes soggy on thaw. Wait until it is fully room temperature.
- Using the fridge. Refrigerator temperatures are the sweet spot for staling. Bread goes stale several times faster in the fridge than on the counter. Counter or freezer, never in between.
- Leaving air in the bag. Air is what causes freezer burn. Squeeze, roll, or vacuum it out.
- Refreezing a thawed loaf. Each cycle costs you moisture and texture. Portion it before you freeze so you only thaw what you need.
From Our Kitchen
When we bake a big weekend batch, we vacuum seal what we are not eating within a couple days and slice and parchment stack one loaf for weekday toast. That combination means there is always real sourdough in the house, even in a week where nobody had time to bake. Order a few extra loaves next time and give it a try.